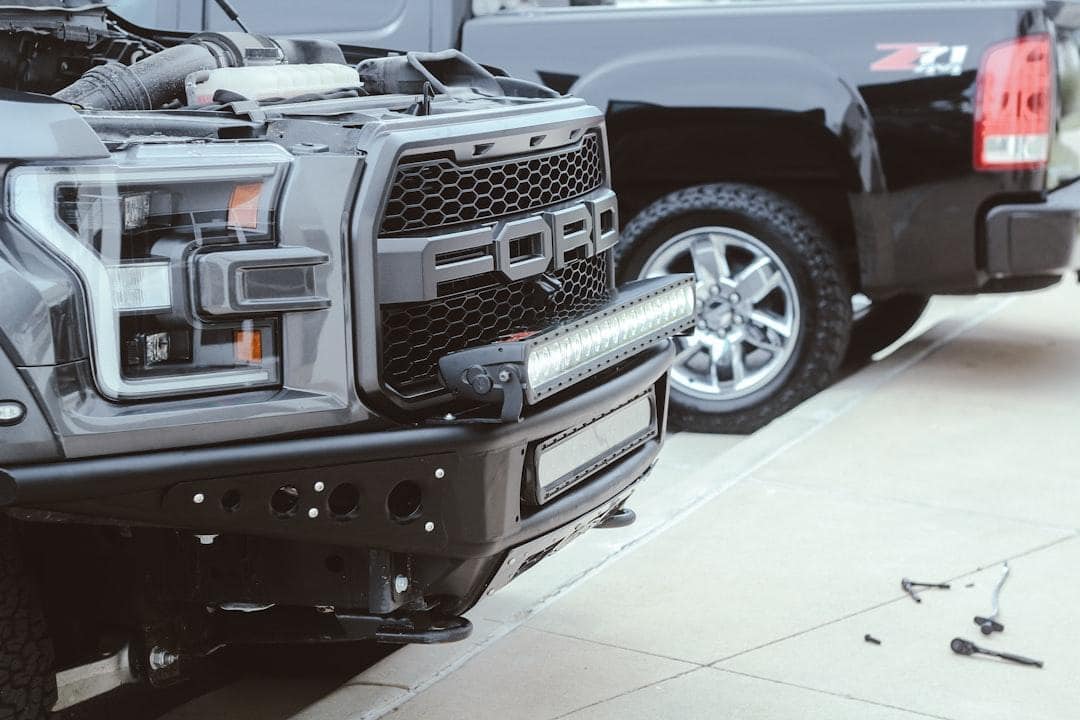
A winch is one of the most-searched truck mods on the market right now, and a bumper-mounted 9,000 to 12,000 lb unit is the standard upgrade for daily-driver pickups that do occasional recovery work or off-road runs. The mounting plate is the easy part. Where most installs go wrong is the wiring – undersized cable, no main fuse, or a poor crimp on the battery terminal – and that is where you lose ten years off the winch’s life or end up with a fire risk in the engine bay.
Below is a clean install path for a Ram 1500, F-150, or similar half-ton truck. Sizing notes apply to most 2018-2026 model years; double-check your specific winch manufacturer guide before final torque.
Match the Winch to Your Truck
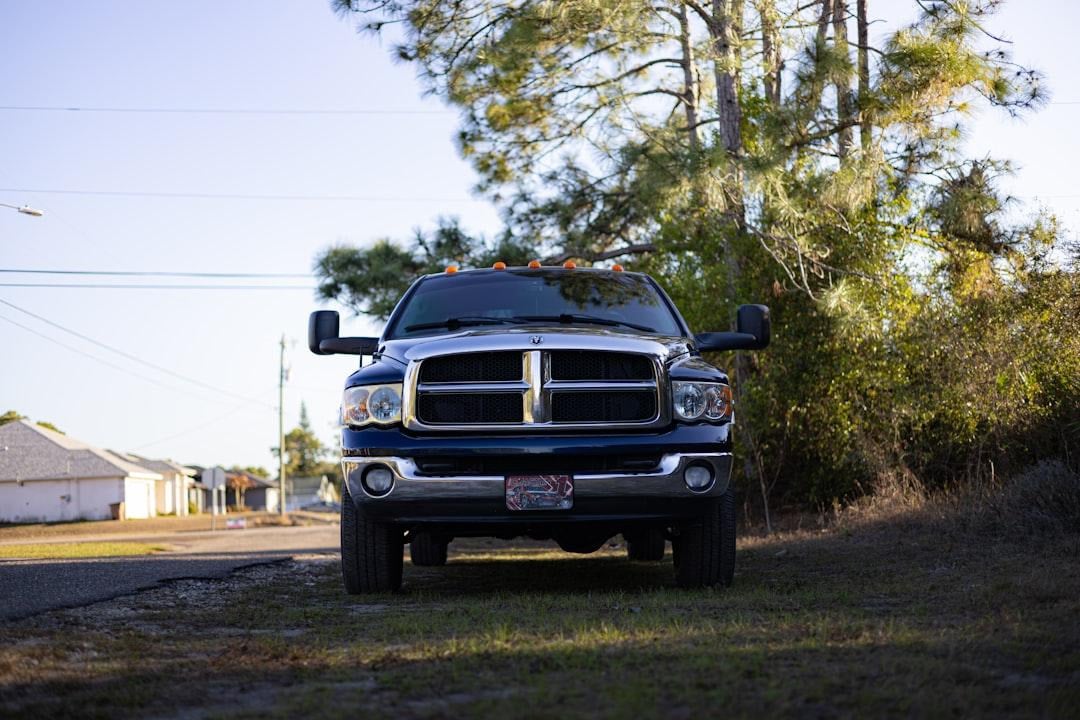
Pulling capacity should be 1.5x your truck’s GVWR. A 7,200 lb F-150 wants a 10,000 lb winch minimum, 12,000 lb for a real safety margin if you tow regularly. Check that:
- Your front bumper is rated to mount the winch (factory bumpers usually are not – aftermarket steel is standard).
- Frame crossmember is intact and unmodified.
- Drawbar shackle mounts have not been previously over-stressed.
A 12,000 lb winch will draw 350-450 amps at maximum load. That number drives every wiring decision below.
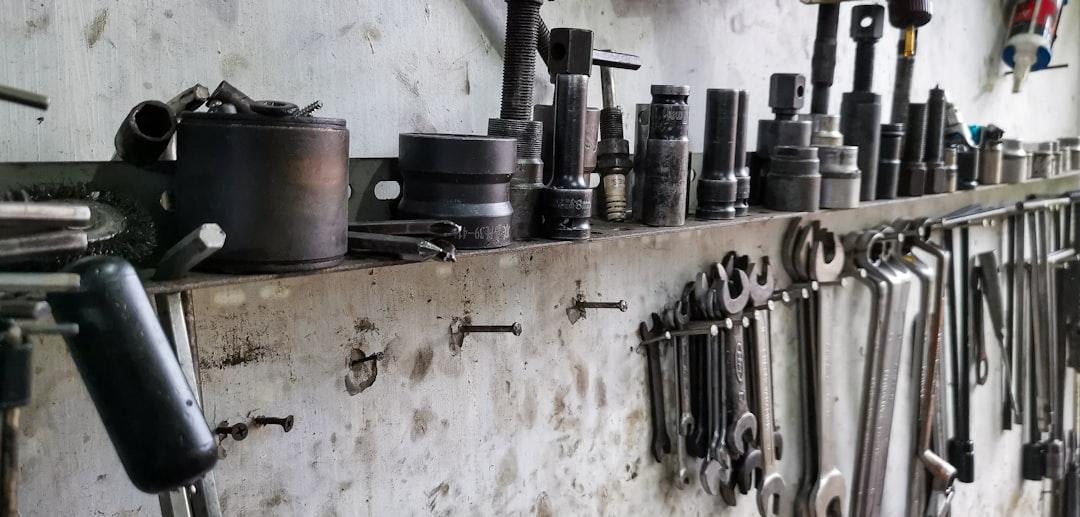
What You’ll Need
- Winch unit and bumper-mount plate.
- 2/0 AWG welding cable (positive and negative runs) – approximate 6 ft length for front-mount.
- 250 A or 300 A main fuse or breaker with mounting bracket.
- Two battery terminal lugs.
- Heat-shrink boots for crimped terminals.
- Cable ties and abrasion sleeve for routing.
- Heavy-duty wire cutters rated for stranded copper to at least 2.5 mm.
- Crimping tool sized for 2/0 lugs.
- Torque wrench, 8 mm and 13 mm sockets.
Cable, Fusing, and Routing
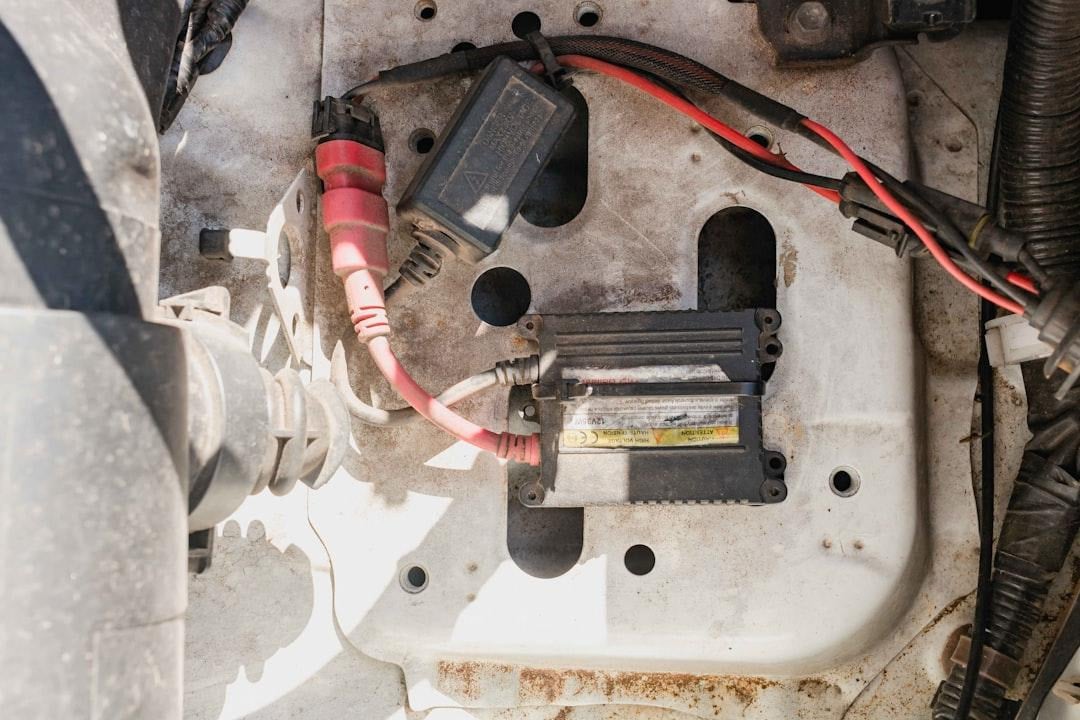
Cable gauge is the single most-common install failure. For 8,000-12,000 lb winches drawing 300-450 amps, use 2/0 AWG welding cable on runs of 6 ft or less. For longer runs – rear bumper mount or dual-battery setup – step up one gauge to 3/0 AWG to compensate for voltage drop (source).
The main fuse or breaker mounts within 18 inches of the battery positive terminal. Rating ranges from 200 A for a 9,000 lb winch to 500 A for the largest 16,500 lb units. Without this fuse, a wiring short between the battery and the winch becomes a fire in the engine bay (source).
Cable cuts are where the right tool matters. Standard side cutters bend or chew thick stranded copper, leaving frayed strands that bottom out a crimped lug and create a high-resistance joint. So for this job we recommend Maun’s Heavy-Duty Wire Cutters, which use a compound-lever cutting edge that multiplies hand force by up to 25x in the 200 mm size, with HRC 62-65 induction-hardened edges that hold up to repeated cuts in hard 2/0 cable. The square cut face is what makes the lug crimp seat cleanly.
Route the positive cable through a rubber grommet at any sheet-metal pass-through. Use abrasion sleeve where it crosses the frame.
Step-by-Step Installation
1. Disconnect the battery negative terminal. This is non-optional.
2. Mount the winch to the bumper plate. Torque to manufacturer spec – usually 50-65 ft-lb on the front mount bolts.
3. Cut and crimp the positive cable. Measure twice. Cut the 2/0 cable with heavy-duty cutters, then crimp a lug on each end. Heat-shrink the crimp.
4. Cut and crimp the negative cable. Same process, ground end attaches to the engine block or frame ground point.
5. Install the main fuse mount. Within 18 inches of the battery positive. Bracket bolted to a clean, unpainted ground reference.
6. Run the positive cable from the winch to the fuse mount. Through the grommet, secured with cable ties every 12 inches.
7. Run the negative cable from the winch to the ground point. Same routing discipline.
8. Connect the fuse output to the battery positive. Torque the terminal to 13 ft-lb.
9. Reconnect the battery negative. Test the winch in both directions, no load.
10. Pull-test under light load before relying on it for recovery (source).
Common Mistakes
- Undersized cable. 4 AWG is not enough for any winch over 6,000 lb.
- No main fuse. The number-one cause of engine-bay fires on winch installs.
- Cheap crimps. A bad crimp on a 350 A circuit gets hot in seconds.
- Skipping the grommet. Sheet-metal abrasion through the cable jacket is a slow-burning short.
Closing

source –
A clean winch install is two hours of work and $200-$300 in cable and fittings, plus the right cutting and crimping tools. Get the wiring right and the winch lasts the truck. Get it wrong and you replace either the winch or the truck.


